


It has been slightly more than 2 years since I picked up yoga. I thought I would take this opportunity to share some basic yoga poses, these are the poses which I was first taught when I went for my first class! Therefore, these are the poses which you would need to do in any Hatha or Vinyasa practice.
These poses require precision to avoid injury to the knees.
These poses require precision to avoid injury to the knees.
Virabhadrasana I
Warrior 1.

1) Step your feet 31/2 to 4 feet apart. Raise your arms perpendicular to the floor and reach actively through the little-finger sides of the hands toward the ceiling.
2) Turn your back foot in 45 to 60 degrees inwards and your front foot out 90 degrees. Align the front heel as much as you can with the back heel to square off the hips. As the back hip point turns forward, press the head of the back femur back to ground the heel. Always make it a point to remember to lengthen your coccyx toward the floor.
3) With your back heel firmly anchored to the floor, exhale and bend your front knee over the ankle so the shin is perpendicular to the floor. More flexible students should align their right thigh parallel to the floor.
4) Reach strongly through your arms, lifting the ribcage away from the pelvis. If possible, bring the palms together. Spread the palms against each other and reach a little higher through the pinky-sides of the hands.
5) Keep your head in a neutral position, gazing forward, or tilt it back and look up at your thumbs. Stay for 30 seconds to a minute.
Edited from source Yoga Journal
Virabhadrasana II
Warrior 2.

1) Like Warrior 1, step your feet 31/2 to 4 feet apart. Raise your arms perpendicular to the floor and reach actively through the little-finger sides of the hands toward the ceiling.
2) Turn your front foot slightly to the right and your left foot out to the left 90 degrees. Unlike Warrior 1, the hips do not need to be square, thus there is no need to align the back heel inwards. Firm your thighs and turn your left thigh outward so that the center of the left knee cap is in line with the center of the left ankle.
3) Exhale and bend your front knee over the ankle, so that the shin is perpendicular to the floor. If possible, bring the thigh parallel to the floor. Anchor this movement of the knee by strengthening the back leg and pressing the outer back heel firmly to the floor.
4) Stretch the arms away from the space between the shoulder blades, parallel to the floor. Don’t lean the torso over the front thigh: Keep the sides of the torso equally long and the shoulders directly over the pelvis. Press the tailbone slightly toward the pubis, to do this, engage your core. Turn the head to the left and look out over the fingers.
5) Stay for 30 seconds to 1 minute. Inhale to come up. Reverse the feet and repeat for the same length of time to the left.
Edited from source Yoga Journal
Warrior 3.

I took awhile to do Warrior 3 because I tend to open my hips when I do this pose. Squaring the hips make the pose a whole new level tougher because balance comes into play.
1) Stand in Tadasana (Mountain Pose), exhale and step your left foot back into a high lunge position.
2) From the lunge position, stretch your arms forward, parallel to the floor and parallel to each other, palms facing each other. Synchronize the straightening of the front leg and the lifting of the back leg. As you lift the back leg, resist by pressing the tailbone into the pelvis.
3) We tend to come up into Virabhadrasana III by lunging the torso forward. This tends to shift the body weight onto the ball of the front foot and unbalance the position. Don’t allow the torso to swing forward as you move into position; instead, as you straighten the front knee, think of pressing the head of the thighbone back. This centers the femur in the hip joint, grounds the heel into the floor, and stabilizes the position.
4) The arms, torso, and raised leg should be positioned relatively parallel to the floor. For many of us, the pelvis tends to tilt. Release the hip of the raised leg towards the floor until the two hip points are even and parallel to the floor. It does not matter how high the back leg goes but square off the two hips points. Bring the head up slightly and look forward, but be sure not to compress the back of your neck.
5) Stay in this position for 30 seconds to a minute.
Edited from source Yoga Journal
Viparita Virabhadrasana
Reverse Warrior also known as Dancing Warrior.

Begin from Warrior 2.
1) On your next exhalation, drop your left (back) hand to the back of your left thigh. On an inhalation, lift your right arm straight up, reaching your fingertips toward the ceiling. Your right bicep should be next to your right ear.
2) Keep your front knee bent and your hips sinking low as you lengthen through the sides of your waist. Slide your back hand further down your leg and come into a slight backbend.
3) Tilt your head slightly and bring your gaze to your right hand’s fingertips. Keep your shoulders relaxed, chest lifting, and the sides of your waist long.
4) Stay in this position for 30 seconds to a minute.
Edited from source Yoga Outlet
So here are some of the basic poses should you want to have a quick kick start to yoga!
These are also some poses which if they are not done correctly, it will cause injuries. There were times where my knees were aggravated, I suffer from wear and tear in my knees from too much high heels when I was younger. So you know, how important healthy bones are. I took them for granted and I am taking extra caution and care today.
Because of my weak knees, I have some very simple poses like the Hero Pose which I can't achieve now. Therefore, I have been religiously taking Herbs of Gold Calcium K2 with Vitamin D and Herbs of Gold Glucosamine MAX to improve my bones and knees.

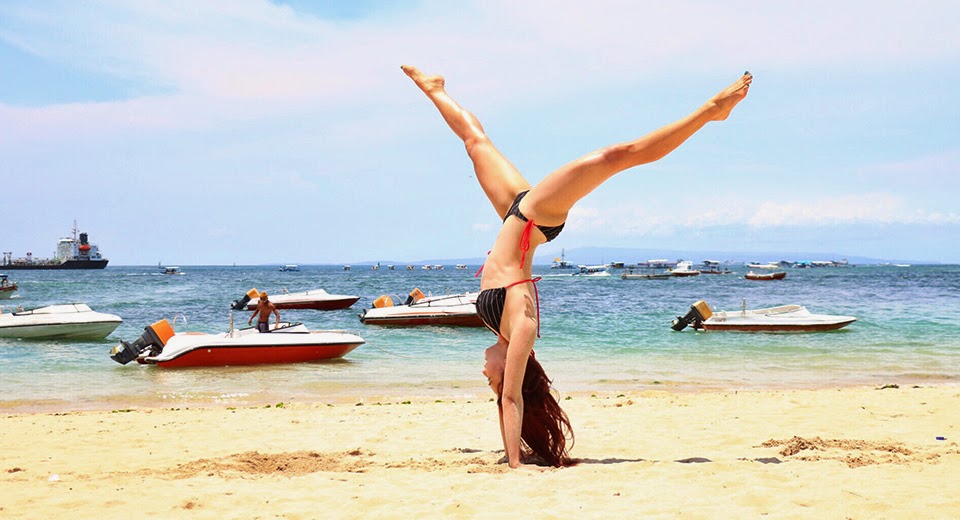
As a yoga fanatic, I also do quite a bit of arm balances like this one so I know how healthy bones and joints are really important so I do not injury myself too easily.
 Working onto Tittibhasana, Firefly Pose!
Not forgetting the stretching and balancing poses!

Natarajasana, Dancer's Pose!
Herbs of Gold Calcium K2 with Vitamin D is formulated with advanced bone support.

Besides Calcium K2 and Vitamin D, Vitamin K2 is also added which is clinically proven to incorporate Calcium into the bone. Calcium and Vitamin D help to promote strong bones and maintain bone density and healthy teeth. Calcium may reduce the risk of developing osteoporosis and may assist in the prevention and treatment of osteoporosis. I take 1 tablet, two to three times daily!


Most importantly, it helps maintain healthy joint cartilage. As I read through the ingredients of the product, I was surprised to see Ginger content! My Mom would make us ginger tea and I know of the wide benefits of Ginger. One of which is that it provides anti-inflammatory support for joints as well! Only 1 tablet is required each day so I would take it every morning before I head out for work.

Calcium K2 with Vitamin D is retailing at $72.90/ 90 tablets while Glucosamine MAX is at $79.90/ 90 tablets! Herbs of Gold is only available in Guardian stores.
Ending the pose with another of my favorite poses that combines the deep, hip-opening stretch with a vibrant, heart-opening backbend, Eka Pada Rajakapotasana, Mermaid's Pose.
Giveaway!!!
1) Like “Herbs of Gold Singapore” facebook and pm “Why you want to try Herbs of Gold Calcium K2 with Vitamin D and Glucosamine MAX” with the code “zoeraymond”! 8 lucky winners will win a bottle of Herbs of Gold Calcium K2 90s’s with Vitamin D and Glucosamine MAX 90’s worth $152.80!! Ending the pose with another of my favorite poses that combines the deep, hip-opening stretch with a vibrant, heart-opening backbend, Eka Pada Rajakapotasana, Mermaid's Pose.

1 comments :
Do u have a clearer picture of the product?
Post a Comment